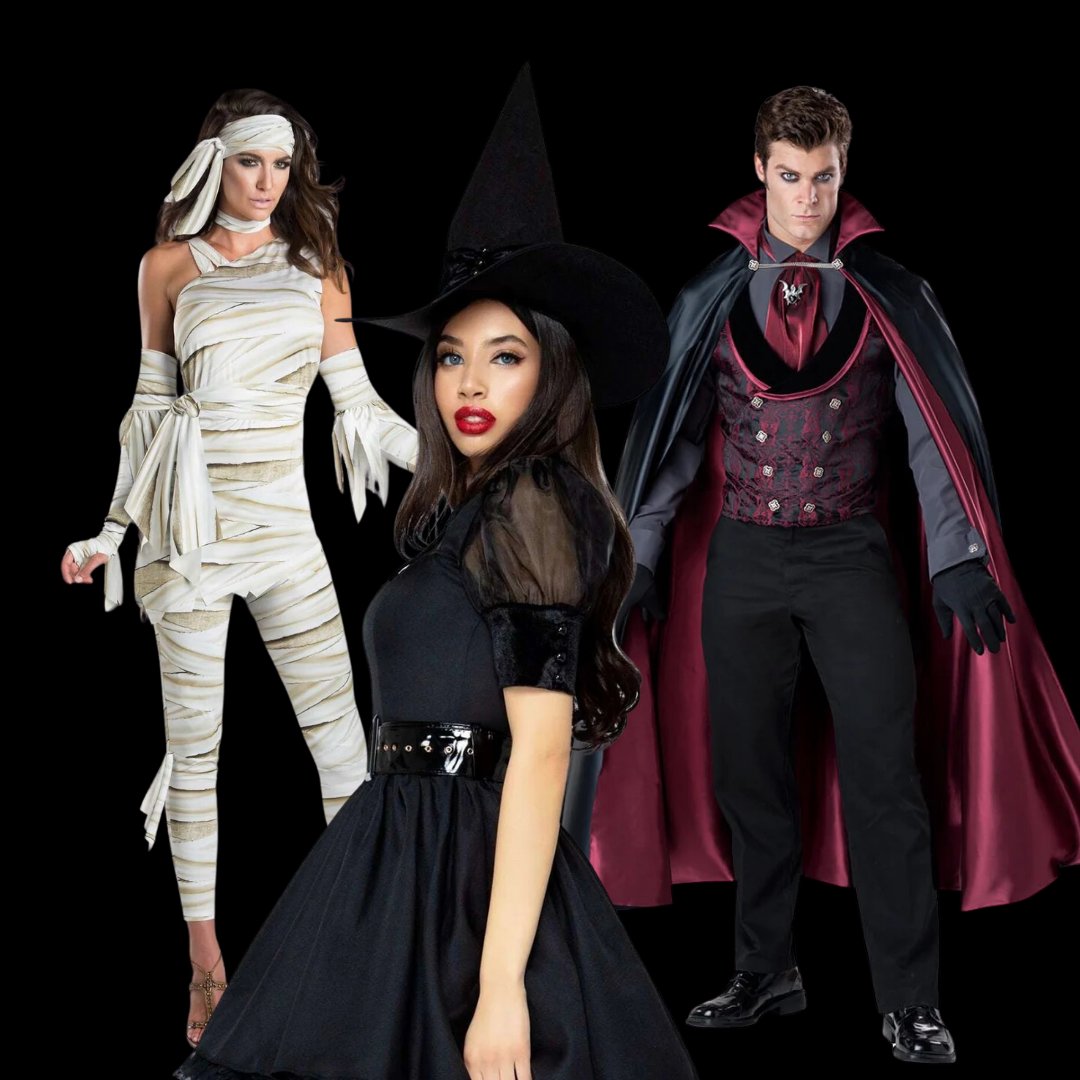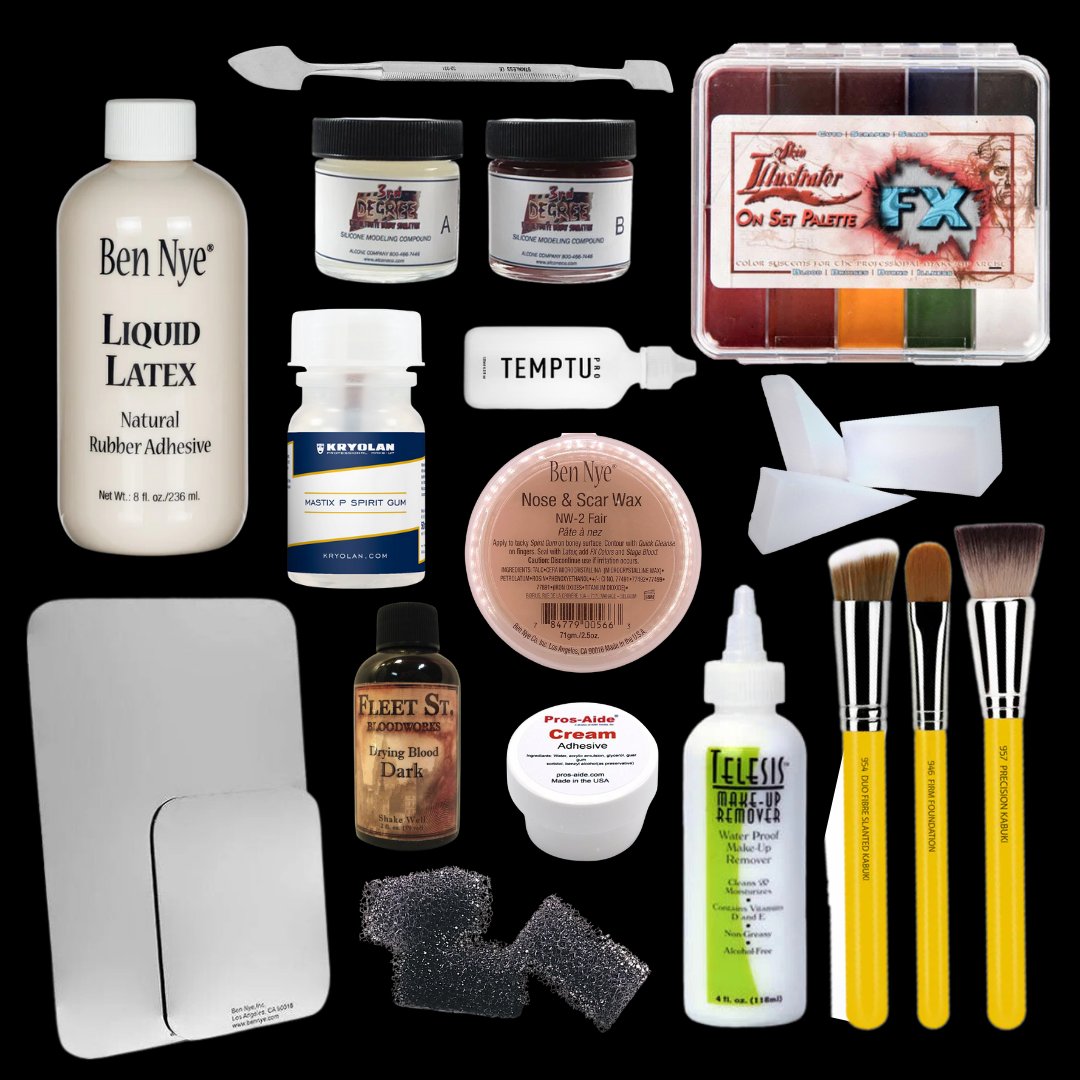
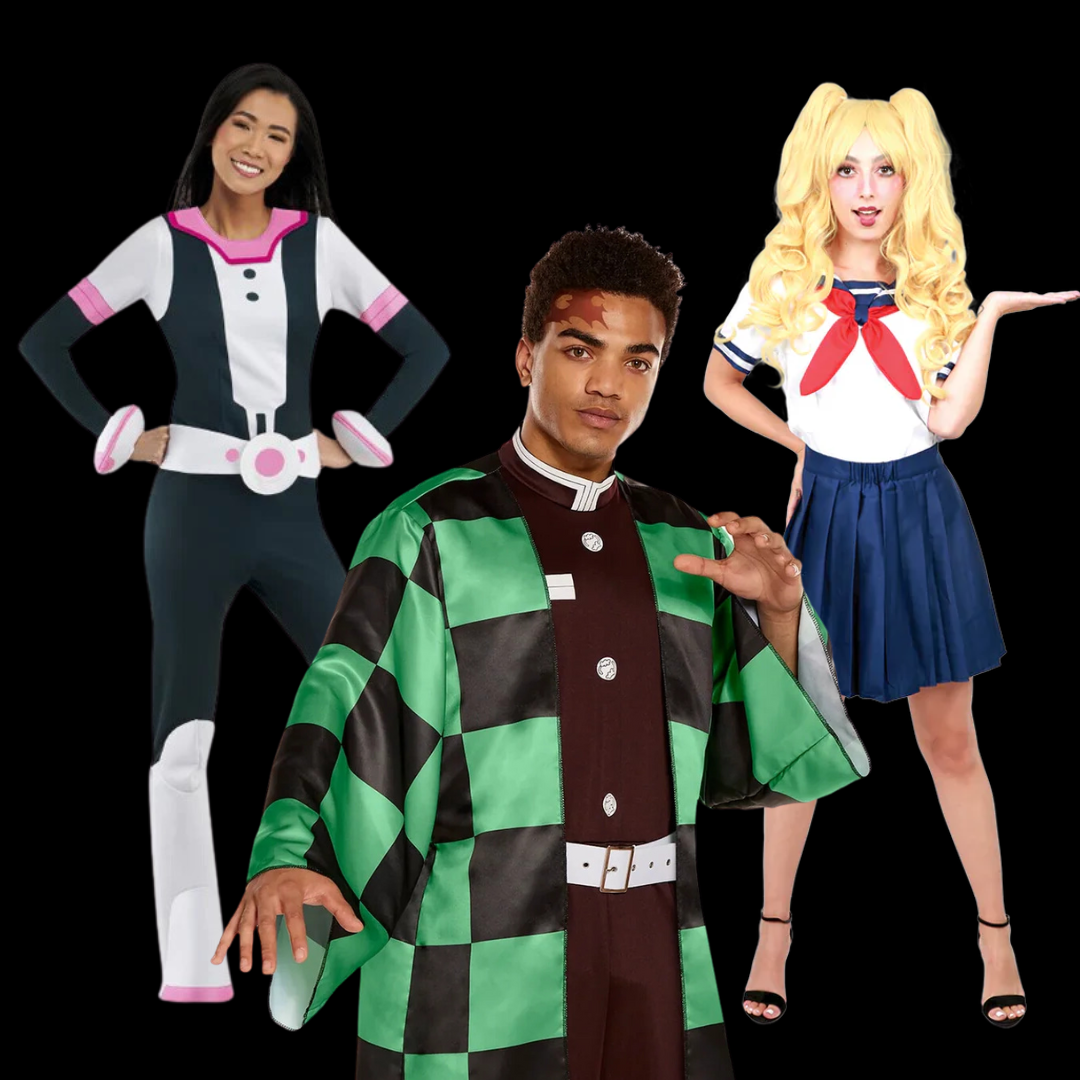
Starting cosplay is easier than it looks from the outside, because most first costumes are not sewn from scratch: they are a mix of bought pieces, a styled wig, and one or two props assembled over a weekend. This guide walks through the whole first-timer process in order, from picking a character you can actually finish to surviving a full convention day in the outfit, with a plain-English glossary at the end for the jargon you will run into.
Disclosure: This post contains affiliate links. If you buy through them, we may earn a commission at no extra cost to you.
Pick a First Character You Can Finish
The single biggest beginner mistake is choosing a character with armor, wings, or an elaborate transformations sequence before you have made anything at all. Finishing beats ambition every time: a simple costume worn all day is a better first convention than an abandoned project left on a desk.
- Favor characters with everyday clothing. School uniforms, hoodies, jackets, and capes read clearly on camera and come together from standard garments.
- Limit the color count. Three or fewer main colors means fewer fabric runs, fewer dye mismatches, and a cleaner silhouette.
- Choose a recognizable silhouette. Spiky hair, a long coat, a signature hat, or a distinct weapon shape tells people who you are before your face does.
- Match your skills, not your fandom. Your favorite character does not have to be the first one you wear. Save the complicated build for costume number two.
A quick way to shortlist candidates is to browse the character groups in our cosplay and anime category and note which ones repeat the same few garments. If three characters you like all need a black jacket and dark pants, you have effectively built three costumes from one base.
Buy, Commission, or Build: An Honest Comparison
Every piece of a cosplay can come from one of three places, and beginners usually benefit from mixing all three.
Buy ready-made
Fastest and most consistent. Licensed costumes, wigs, and accessories arrive in standard sizes with the print already correct. Best for anything complicated: printed tunics, tailored coats, complex patterns, and character shoes. The tradeoff is fit, because sized costumes often need minor alteration at the shoulders or hem.
Commission another maker
Useful when a piece is beyond your current skill but central to the look: a foam sword, a beaded necklace, a structured bodice. Commission work is custom, so it takes longer and requires clear reference photos and agreed deadlines. Ask for progress pictures rather than a single delivery date.
Build it yourself
Building pays off when the piece is simple, when you want exact control, or when you are working with what you already own. Start with hot glue, contact cement, EVA foam, and fabric glue before investing in a sewing machine or a 3D printer. Your first build should be a prop or an accessory, not the entire outfit.
Whichever route you take, budget a little for the pieces nobody sees but everybody feels: hem tape, safety pins, a spare wig cap, double-sided tape for closures. Check beginner cosplay essentials here and keep a small repair pouch in your bag for the weekend.
The Four Pieces Every Cosplay Needs
Think in components instead of a single costume. Almost every successful cosplay breaks into four parts, and each one has a job.
1. The costume itself
The base garment: tunic, uniform, dress, coat, or armor. This is what occupies most of your time and budget. Get the fit right before adding details, because a well-fitted plain outfit always beats a loose decorated one.
2. The wig
Most characters do not have wearable human hair, and a styled wig does more identity work than any other single item. Expect to trim the bangs, tease the spikes, and set them with heat-resistant spray out of the package. Never style a wig before you have tried it on with the headpiece or hood that sits over it.
3. The prop
Weapons, wands, scrolls, gadgets. Props are what make a costume photographable, and they are also where conventions get strict: most ban sharp edges, realistic firearms, and anything you cannot fold down. Check the rules of your specific event before you build.
4. The accessories
Gloves, belts, badges, jewelry, socks, contacts. This is the layer beginners skip and then regret, because accessories are what separate “person in a costume” from “character”. Buy them last, when everything else is settled, so the tones match.
Fittings, Comfort, and Convention-Day Realities
A convention day means eight or more hours on your feet, packed crowds, photo stops, and long lines. Design for that, not for the mirror.
- Wear the full costume at home first. Walk, sit, climb stairs, and use a public restroom in it. Fix every problem you find before the event.
- Break in shoes early. New shoes plus concrete floors equals a ruined day. Wear them around the house for a week beforehand.
- Layer strategically. A breathable base layer under armor or a suit controls sweat and prevents chafing from seams and foam.
- Plan bathroom access. One-piece suits and multi-layer dresses need a plan, including a friend on zipper duty if required.
- Pack a comfort kit. Blister plasters, safety pins, a mini sewing kit, water, and a snack solve most day-of emergencies.
How to Budget a First Cosplay
Most overspending happens because people buy materials before they finish planning. Work in this order and the numbers stay sane.
- Plan first, purchase second. Write a parts list with each item marked buy, modify, or make. Only then start ordering.
- Set a hard ceiling. Decide your total before you look at anything, and treat the number as final.
- Spend where the eye goes. Put money into the head and torso, which show up in almost every photo, and economize on shoes and lower layers.
- Reuse across costumes. Plain black pants, boots, gloves, and neutral wigs carry you through multiple characters.
- Keep a contingency slice. Hold back roughly a tenth of the budget for replacements, extra glue, and shipping you did not plan on.
Care, Travel, and Getting It Home in One Piece
Costumes die in transit more often than at the event itself. A little handling care protects the work you just did.
- Use a garment bag and a hard case. Hang the costume, nest the wig in a box or a wig carrier, and pack props separately with padding.
- Wrinkle-proof on arrival. Hang the outfit in a steamy bathroom for fifteen minutes instead of ironing directly on prints or foam.
- Carry repairs, not spare costumes. Glue, tape, pins, and thread weigh less than a backup outfit and fix nearly everything.
- Store it clean. Wash and fully dry pieces before they go back into a bin, because damp fabric in a sealed container ruins both color and shape.
Common Beginner Mistakes (and Their Fixes)
- Starting too complex. If a project scares you, cut it down until it does not. You can always add later.
- Ignoring fit. Tailoring a cheap base garment often improves a costume more than adding details.
- Skipping the wig test. Try on the wig, headpiece, and makeup together before the event, not the morning of.
- Leaving the prop to the last night. Props need drying time. Build them a week ahead.
- Wearing it for the first time at the con. The first wear is a rehearsal, always at home.
Cosplay Glossary for Absolute Beginners
- Cosplay — short for “costume play”: dressing as a character and performing or posing as them, usually at events.
- Prop — a held or carried item such as a weapon, wand, or gadget that is not worn on the body.
- EVA foam — a light, dense crafting foam used to make armor, blades, and helmets; cuts with a craft knife and shapes with heat.
- Worbla — a thermoplastic sheet that softens with a heat gun and hardens into a rigid shape, often layered over foam for armor and crowns.
- Thermoform — the general act of heating a material until it bends, then letting it cool into a new shape.
- Wig cap — a stretchy net that flattens your natural hair so a wig sits smoothly.
- Craft foam — thinner foam for small details like trim, badges, and scale patterns.
- Weathering — deliberately adding dirt, scuffs, and wear so a costume looks lived-in rather than store-new.
Where to Shop for Your First Cosplay
Everything above comes down to one habit: decide the parts list before you spend, then source it in as few orders as possible so nothing arrives late. A single well-chosen costume, a trimmed wig, one simple prop, and the accessories you skipped last time will outperform an ambitious half-finished build every time. A local costume shop is worth a visit if you want to handle wigs, fabrics, and props in person before committing, and the same one-cart logic works online: shop beginner cosplay costumes and supplies here. Pick a character you can finish, order the base pieces, schedule a home fitting, and give yourself a real deadline. Your first cosplay is not a portfolio piece; it is proof that you can start, and you can refine everything from there.